Pages

Showing posts with label Appetizer. Show all posts

Monday, November 28, 2011

Layered Taco Dip


I love furniture!  My favorite thing is to go to antique stores and consignment stores to find old furniture that has character.  Preferably the cheap kind!  I see the value in old expensive furniture, but our budget just doesn't quite match up.  I had been looking for a corner cabinet to go in our dinning room.  My mother in law found this one which was perfect!  It just needed a little touching up to update it.

Before:  ugly wood and silver hardware.

Close up of silver hardware.

I painted the inside with the same color as our dinning room walls and spray painted the hardware with oil rubbed bronze (my new favorite can of spray paint)!

The finished product before it was staged.

Spay painted with ORB

Close up

This is a typical layered dip.  It fulfills my Mexican cravings quite well.  Just try it for yourself and make it your own!

Layered Taco Dip

Ingredients:
  • 1 can of Frito's bean dip
  • Guacamole
  • 1 cup sour cream
  • 1 cup mayonnaise
  • 1 packet of taco seasoning
  • Shredded cheese (I prefer white cheddar)
  • Salsa
  • Pickled Jalapenos
  • Optional layers:  diced tomatoes, black olives, green onions
  • Serve with tortilla chips
Layer dip in ~8X8 dish.  Layer bean dip, guac, mix together next three ingredients in a separate bowl (mayo, sour cream, and taco seasoning) and add on top of guac, shredded cheese, salsa, and pickled jalapenos.  Enjoy!


Wednesday, October 19, 2011

Roasted Garlic Hummus

Sadly, I took horrible pictures of this hummus dip.  So you will just have to use your imagination and know that it was awesome if you are a garlic lover, which I am!

I feel like I have been struggling with my food photography lately.  I think I am either in a hurry or super hungry.  I just assume one will turn out good, and lately they have not.

Enough complaining!

Our small group had an outing at the shooting range the other week.  Yes, I actually enjoy to shoot my husbands guns.  He has always loved this hobby. I have always been terrified by guns!  I hate that they are all over our house. I feel like they are an accident waiting to happen...until recently.  I finally went with him one afternoon to the range.  After getting acquainted with the gun and over my fear, I loved it!  My husband was so excited that we could finally go shooting together and have a really good time.

Trying my best to not look afraid.

Old pro right here

He looks good in action!

SMALL GROUP PICTURES

Beth shooting Alex's AR15

Jordan with his new gun.  I love that I caught the "fire" in this shot.

Mark and Mary showing off the cool gear we got to wear.  Safety first:)

My hot husband showing off again.

Lauren patiently taking instructions from Jon

And she is off!

Roasted Garlic Hummus
Source:  Annie's Eats

Ingredients:
  • 2 heads of garlic, intact
  • 2 tbsp. olive oil
  • 2 cloves of garlic, peeled and sliced
  • 3 tbsp. freshly squeezed lemon juice
  • 1/4 cup water
  • 6 tbsp. tahini
  • 14 oz. can of chickpeas, drained and rinsed
  • 1 clove of garlic minced
  • 1/2 tsp. salt
  • pinch of cayenne pepper
  • 1 tbsp. fresh parsley, minced
Directions:

Preheat the oven to 350˚ F.  Remove the papery outer skins of the garlic heads, leaving them otherwise intact.  Chop off the top quarter of the head so that all of the cloves are exposed.  Wrap the garlic in foil and bake until very tender, about 1 hour.  Meanwhile, heat 2 tablespoons of the olive oil in a small skillet over medium-low heat.  Add the sliced garlic cloves and cook, stirring occasionally, until golden brown, about 15 minutes.  Use a slotted spoon to transfer the garlic to a paper towel-lined plate, reserving the cooking oil.  Set aside.  Once the roasted garlic is cool enough to handle, squeeze the cloves from their skins (you should have about ¼ cup).
In a small prep bowl, combine the lemon juice and water.  In another bowl, whisk together the reserved garlic cooking oil and the tahini.  In the bowl of a food processor, process the chickpeas, the roasted garlic puree, the remaining clove of garlic, salt and cayenne until the mixture is finely ground, about 20 seconds.  Scrape down the sides of the bowl.  With the machine running, add the lemon juice-water mixture through the feed tube in a steady stream.  Scrape down the bowl and process for an additional minute.  With the machine running, add the oil-tahini mixture through the feed tube in a steady stream.  Scrape down the bowl and continue to process until the hummus is smooth and creamy.  Transfer to a serving bowl, drizzle with olive oil, top with toasted garlic slices and minced fresh parsley, if desired.


Tuesday, July 12, 2011

Fresh Salsa

Alex is my lovely hand model here


Goats


Alex and I had a impromptu date night a few weeks ago.  We went to dinner at Party Chic, one of my favorites. I love their chicken salad!


One of our favorite hobbies is driving around looking at homes that we will never be able to afford.  Alex had recently trained a client in a part of Roswell that I have never been to.  On our way we found these cute little guys.  Who says Roswell doesn't have "country" like aspects.


"Feed me!"

Alex letting them nibble his hand.

"Really, you just wasted my time because you have no food."


We had so much fun petting them through the fence.  They quickly decided we were no fun since we did not have any food for them.


Alex and I have always wanted goats.  We think they are so entertaining when they ram each other.  One day we will need a farm for our dogs, goats, and the chickens Alex wants for their eggs.


Do you guys have any random things you do with your husbands, like our house hunting?  What animal would you like to have that isn't a practical house pet?


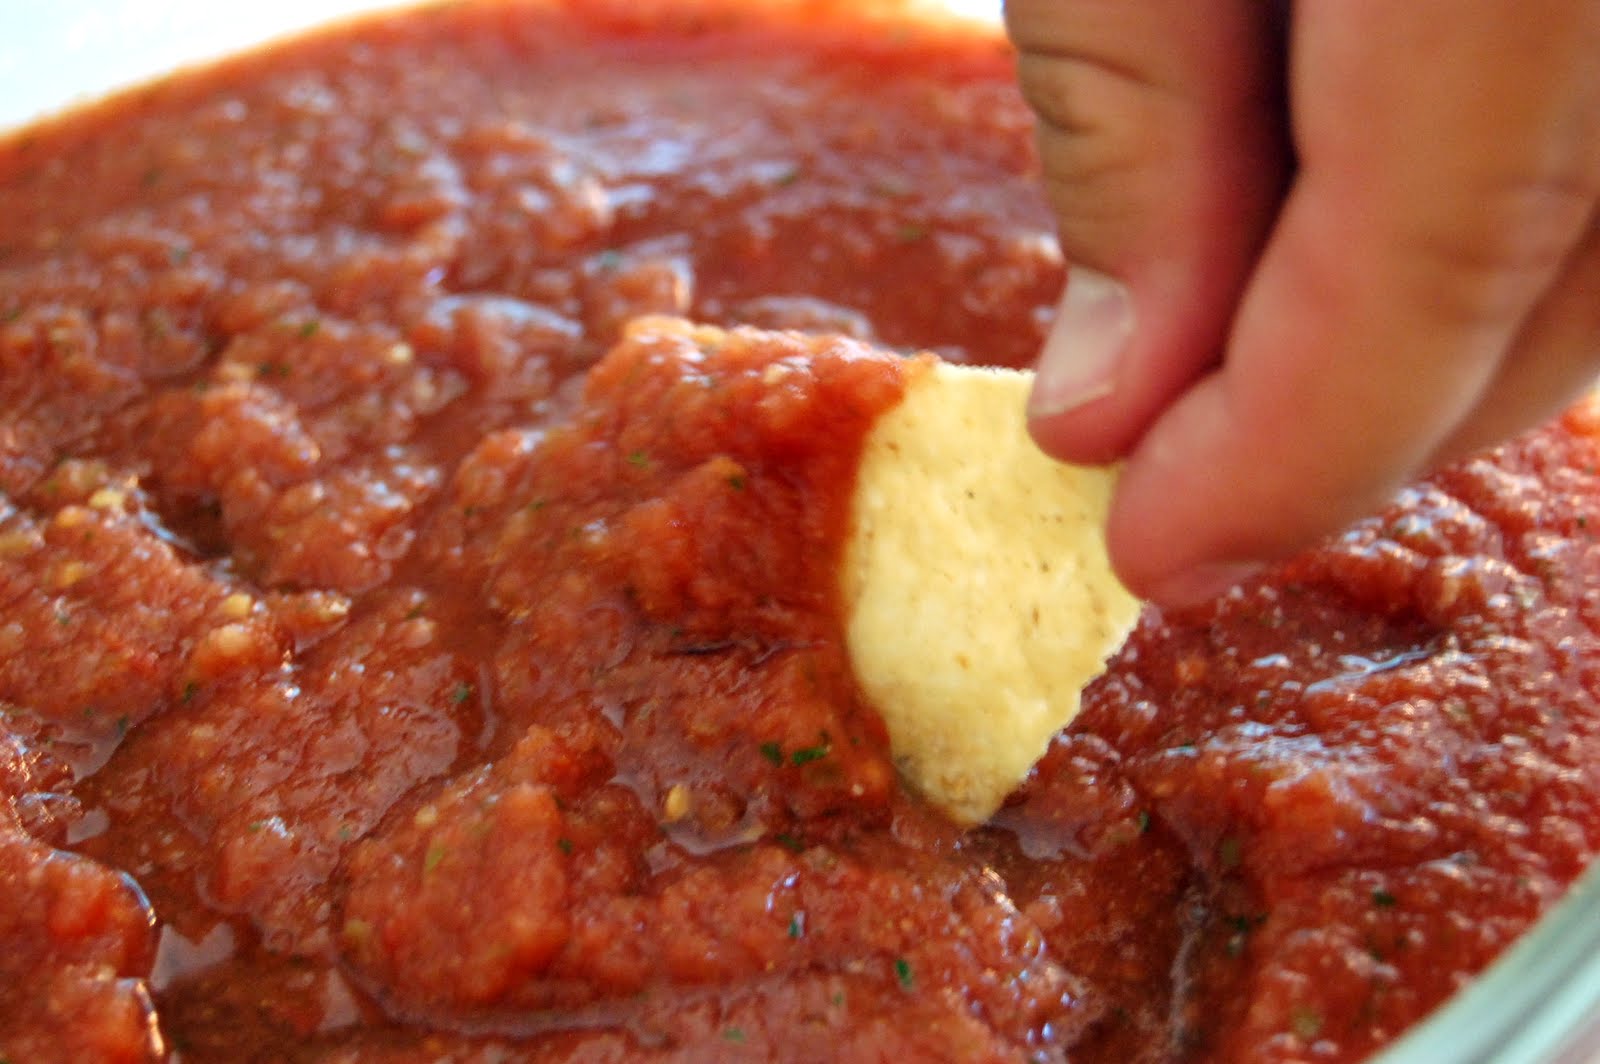
I made this salsa for our small group along with the caramel popcorn.  It was fresh and made a ton!  I still think the other salsa is my personal favorite, but this one is a little milder.  


Fresh Salsa
Source:  I can't remember where I found this one:)


Ingredients

  • 2 fresh jalapeno peppers, seeded and very coarsely chopped
  • 4 cloves garlic, halved
  • 2 large vine-ripened tomatoes
  • 1 (28 0z.) can diced tomatoes (drained or not, depending on how much liquid you want in your salsa)
  • 2 tbsp. red wine vinegar
  • 1 tbsp. cumin
  • 1/2 sweet yellow onion, coarsely chopped
  • 1/4 tsp. salt
  • 1/2 tsp. ground cayenne pepper
  • 1/4 cup fresh cilantro
  • juice of one lime
Directions:

In the food processor, combine the jalapenos and garlic.  Process until finely chopped.  Scrape down the sides of the bowl.  Add all other ingredients to the food processor.  Pulse in very brief pulses until the vegetables have reached the size you desire (it does not take many pulses so don’t overdo it).  Transfer to an airtight container and refrigerate at least 2 hours before serving to allow the flavors to blend.

Monday, April 25, 2011

Spring Salsa


What a fun Easter weekend!  We started it off on Friday night with our anniversary dinner at Hal's.  Alex and I agree, it was the best steak we have ever had.  I had the filet with crab meat and a side of hollandaise sauce.  Alex had something with a bone in it:)  Mine was definitely better.

Doesn't he look so cute!  I love getting dressed up for a fun dinner.  Alex is more of a shorts and flip flops kind of guy.

Do you think he has changed in the past 5 years?

Saturday, I took care of stuff around the house while Alex worked.  We went to dinner that night with our friend's, Lauren and Jon.  This was a "make-up" dinner from a few weeks before, when Jon didn't feel so good.  We ate at INC on the Roswell square.  Dinner was awesome!  Lauren and I split the Tacos Al Pastor. They are pork tacos with pineapple, YUM!  I tried these for the first time when we were in Mexico.

Most of the restaurants on the square have outside seating.  Perfect for this time of year.

Lauren and Jon

Sunday morning we went to the 9 o'clock service at North Point Community Church.  Andy gave an amazing sermon.  Each year I think it can't get any better than this, and then it does.  We came home and got to work on the yard (by we I mean Alex) and went grocery shopping (that would be just me).  While I worked on this salsa and dessert (coming soon), Alex gave my car a much needed wash.  

"Best husband ever" award!

Jackson, resting his head on the window seal while Alex worked in the yard.  He is such a daddy's boy.

Yesterday evening, we went to Alex's parent's house for Easter dinner.  Susan prepared yummy BBQ, green beans, apples, and potatoes.  After dinner we sat around watching Tini and their dog, Makaya, play.  

 Makaya

Tini stole Makaya's bed

Now Tini is posing on the fire place for some BBQ.

This salsa was easy to make and had a great flavor.  Super fresh for this spring weather.  Enjoy!

Spring Salsa
Adapted from Southern Living

Ingredients:
  • 1 1/2 cups of grape tomatoes, seeded and chopped
  • 1 cup of shoepeg corn (canned or frozen, thawed)
  • 1/4 cup chopped red onion
  • 2 tbsp. chopped fresh cilantro
  • 1 garlic clove, minced
  • 1 jalapeño pepper, seeded and minced
  • 2 tbsp. fresh lime juice
  • 1 tsp. garlic salt
  • Additional salt and pepper to taste
  • Serve with tortilla chips or on a grilled chicken wrap
Directions:
Mix all the ingredients together.  Chill and serve.  


Wednesday, February 23, 2011

Spinach Feta Dip

I had to sample it to make sure it was edible:)

We went to Alex's parent's house on Monday for dinner.  We were celebrating Dakin's birthday!  Susan made yummy potatoes, cesar salad, and steaks.  It was awesome.  Oh, and how could I forget the apple pie.  I didn't get to eat the crust, but the filling was delicious.

I love the time spent at family dinner gatherings.  It is relaxing and always full of good conversation.

I brought an appetizer to share.  It was super easy to throw together.  I served it with tortilla chips and cucumber slices.   I think pita chips would have been a better pick for those who do eat gluten.

My picky husband does not like feta or cucumbers so he opted out of eating this one!

Speaking of my picky husband, I just finished a great book that was recommended by my friend Lauren.  It is a good read for any wife, but especially ones that struggle with balancing attention from her husband and his attention with his job.  Here is a link to read a preview of Her Husband is Known in the Gates.


Spinach Feta Dip
Source:  Annie's Eats


Ingredients:
  • 2 cloves of garlic
  • 3/4 cup mayonnaise
  • 3/4 cup sour cream
  • 4 oz. crumbled feta
  • 1/2 tsp. grated lemon zest
  • 10 oz. frozen chopped spinach, thawed and drained
  • Ground black pepper to taste
Directions:
In a food processor or blender, pulse the garlic until finely chopped.  Add in the mayonnaise, sour cream, feta and lemon zest.  Process until smooth, scraping down the bowl as needed.  Transfer the mixture to a bowl, stir in the spinach and season with black pepper to taste.  Cover and refrigerate until ready to serve.  

Monday, February 7, 2011

Shrimp de Gallo

What a weekend!  Alex and I were gone from Friday night through Sunday morning at a weekend event called myLIFE.  We both lead a small group, mine 9th grade girls and his 9th grade boys.  With InsideOut there are three main events outside of our typical Sunday routine.  The first is The Walk held at the beach for 5 days during the summer.  Next, is Vertical Reality weekend held up in Jasper at Sharptop Cove in the fall.  Last, myLIFE held locally for a weekend.  All four campuses came together.  This meant 1,300 high school students in one place!  AHHH!

I am blessed to have about 22 girls that I lead.  Only 12 were able to make it for this amazing weekend.  They are great girls who really have a desire to grow in their relationship with Christ.  The theme of the weekend was to help them spend time deciding who they want to be and to realize who do they currently model their life after. Is it the pretty girl in math who seems to have it all, the sporty girl who plays volleyball and looks like a pro, is it the girl who can sing and might be the next American Idol?  By the end of the weekend they realized they have the most perfect model ever right at their finger tips, Jesus.  They discovered ways to learn more about Him and how to change their lives to live like He did.

This was the perfect weekend for these girls.  I am sure you remember what it was like to be in 9th grade and feel so lost and confused.  To find who you are at this age is a blessing.  I know some adults who are still struggling with this concept.

I was running late on Friday because I had to finish up at work.  My girls were told to hang out in the room we do small group time in at the church.  When I got there I found them being about as mischievous as 9th grade girls get...playing in an abandoned Target grocery cart.  We still have no idea why it was in our room or where it came from!  (Well, it obviously came from Target, but how did it get to North Point!).


What else would 9th grade girls do while waiting for the first session but play with each other's hair?  Get in line and let's start braiding!


The entire group!  What a beautiful group of girls!

Alex and I were more than a little exhausted when we got home Sunday morning, so when Susan (my mother-in-law) invited us over to watch the Super Bowl and eat chili we jumped at the offer.  I ran out to the grocery store after we got home to grab the ingredients for an appetizer to bring.  I knew once I hit the couch I wouldn't be able to move until it was time for dinner.

This dip was easy to throw together and healthy too.  I figured there would be enough of your typical super bowl food.  I was disappointed that Trader Joe's didn't have any ripe avocados.  I think it would have been a great addition.  The taste was good without.  


Shrimpo de Gallo
Source:  Pioneer Woman's Blog
Ingredients:
  • 1 pound of cooked shrimp (tails removed), chopped
  • 1/2 whole red onion, diced finely
  • 1/2 cup green or black olives, chopped (I used green because I don't really care for black)
  • 2 whole tomatoes, diced
  • 2 whole fresh jalapeño peppers, minced
  • 2 whole avocados, chopped
  • 2 whole limes, juiced
  • kosher salt to taste
  • 2 cups cilantro, chopped (I don't think I used quite this much, just eyeball it)
Directions:
Combine shrimp, red onion, olives, tomatoes, and jalapeños in a large bowl.  Add lime juice and salt to taste. Add cilantro.  Stir gently with a spoon, taste to determine if you need more lime or salt.  (I also added about 1/2 tsp. of garlic powder to taste).  Chill before serving.  Add avocado right before you serve so it does not turn brown.    Serve with tortilla chips.  

Saturday, January 1, 2011

Salsa

I felt inspired to use my UGA chip and dip tray because the DAWGS were playing the Knights while I was making this salsa!  GOOO DAWGS, SIC EM!

Shocker, another Mexican type recipe:)  I love salsa!  I could eat salsa for three meals a day.  Some people love chocolate (which don't get me wrong, I do love that too), but I would rather be stuck on an island with just chips and salsa then chocolate any day!

I am ashamed to admit that this is my first attempt at making homemade salsa.  I would consider myself a pro at the store bought stuff, but I never tackled this challenge before.  I got this recipe from my January Southern Living Magazine.  This is like my cooking bible.  Every month when I get my new one I sit down and read all the recipes.  I turn the page corners down for the ones that I like.  Then as I prepare my grocery list each week I go to the recipes that I have marked and pick 2-3 out for our meals that week.  I highly recommend a subscription if you don't already have one.

I made this as an appetizer to take to our friends, Scott and Katie, house for a New Years Eve get together.  It was super easy, just dump it all in the food processor or blender and blend.
Katie and Scott at Alex's 30th birthday party 80's theme!

A tip when using fresh lemon or lime juice.  While it is still whole roll it on the counter with firm pressure through your palm.  This will soften it and allow all the juices to come out easier.

Alex was my first taste tester and said it was awesome!  He loved the after kick that it leaves in your mouth.  You can make this salsa as chunky or smooth as you like.  My picky husband prefers smooth vs. chunky. Note from Alex...I will never eat store bought salsa again.  As a man that enjoys chips and salsa I have to say that this is some of the best fresh salsa I have ever had.

Since it is a new year and many people have health related goals to loose weight I thought I might add that spicy foods have been shown to increase metabolism.  No, alone they will not cause you to loose tons of lbs, but it is a good addition to burn a few more calories in your day.

All the ingredients ready to go

Southwest Salsa
Source:  Southern Living Magazine January 2011

  • 1 14.5 oz can diced tomatoes and zesty green chilies (I used a can and half of Rotel original which gave it a nice kick)
  • 5 pickled jalapeño pepper slices
  • 1/4 cup firmly packed fresh cilantro leaves
  • 1/4 cup chopped red onion
  • 1 Tbsp. fresh lime juice (approximately one lime)
  • 1/4 tsp. ground cumin
  • 1/4 tsp. garlic powder
  • 1/4 tsp. dried crushed red pepper
  • 1/4 tsp. salt
Drain liquid from tomatoes, reserving 1 Tbsp. liquid; discard remaining liquid.  Place reserved liquid, tomatoes, and next 8 ingredients in a food processor or blender.  Pulse 5 to 6 times or until finely chopped.  Cover and chill 1 to 24 hours before serving.  Garnish if desired with fresh cilantro sprigs and/or pickled jalapeño slices.  Store in refrigerator for up to 7 days. 


Wednesday, December 29, 2010

Mexican Layer Dip

There are so many variations out there of this style dip.  I liked the addition of cumin and green chillies to spice up the beans.  I left out the black olives because I am not a big fan.  Adapt this recipe to your liking!

I used Trader Joe's fresh salsa for the pico part of the recipe.  We always have some in our refrigerator.  It is so yummy.  I also buy the guacamole in bulk from Sam's and freeze the extras.  It is a great go to appetizer when you need something last minute. 

I was not precise with my measurements except with the beans.  I just made the ingredients work for the serving dish I was using.  You can't go wrong with a little extra.


Mexican Layer Dip
Source:  The Pioneer Woman Cooks Blog

Ingredients

1 can refried beans
Tabasco sauce, to taste (I used Texas Pete)
1 can diced green chillies
Ground cumin to taste
3/4 cup grated sharp cheddar cheese
1 cup sour cream
1 cup guacamole
3/4 cup monterey jack cheese
1 can black olives
1 cup pico de gallo

Heat beans in a small pan over medium low heat.  Add several dashes of tabasco sauce and a small can of undrained diced green chilies.  Stir well.  Sprinkle a little bit of ground cumin.  (I would add a small amount and continue tasting until it reaches your liking).  Spread the beans on the bottom of a glass bowl or high sided dish.  Next sprinkle the sharp cheddar cheese.  Add sour cream next, spreading gently as to not disturb the cheese beneath.  For the next layer add guacamole.  Follow with a layer of monterey jack cheese.  Sprinkle with chopped black olives.  Lastly, place a generous layer of pico de gallo.  You may top with diced jalapenos, if you like, on top.

Serve with tortilla chips.

Tuesday, December 28, 2010

Hot Spinach and Artichoke Dip

Yes, this is another appetizer from the holiday party.  I promise some real food is coming soon!

Before I get to the dip I had to share this sweet shot.  My great friend, Lauren, brought her son Brody to the party.  Shortly after walking in he spotted our Elf from Elf on the Shelf.  (Although Brody calls him "Alf".)  He was so excited that the Elf had followed him all the way to Roswell from his home in Alpharetta.  Alex and Brody sat on the couch and read the Elf on the Shelf book.  It was precious!

Brody and Alex reading about the Elf!

I absolutely LOVE this dip!  I make it all the time and it is always a big hit!  I found it online back when I was in college.  This is a mock version of Olive Garden's, supposedly.  I have  never actually had spinach artichoke dip at Olive Garden so I couldn't tell you how much they are alike!

Before I was gluten free I served this with pita chips, now tortilla chips.  Warm bread would also be a great dipper.

The picture does not do it justice.  I was in a hurry to snap a shot since guests had already started eating!

Olive Garden Hot Spinach and Artichoke Dip
Source: http://www.cdkitchen.com/

1 8 oz. cream cheese (softened)
1 14 oz. can of artichoke hearts, drained and coarsely chopped
1/2 cup spinach frozen (defrosted)
1/4 cup mayonnaise (don't skimp and use miracle whip here!)
1/4 cup parmesan cheese
1/4 cup romano cheese (you can use all parmesan if that is all you have)
1 garlic clove, minced
Either 1/2 teaspoon of dried basil or 1 tablespoon of fresh basil
1/4 cup mozzarella cheese grated
1/4 teaspoon garlic salt

Allow cream cheese to come to room temperature.  Mix together cream cheese, mayonnaise, parmesan, romano cheese, garlic, basil, and garlic salt.  Mix well.

Add the artichoke hearts and spinach (I squeeze it really good with my hands to make sure it is well drained), and mix until blended.  Store in a container until you are ready to use.

Spray corningware with Pam, pour in dip, and top with mozzarella.  Bake at 350 degrees for 25 minutes or until top is lightly browned.

Monday, December 27, 2010

Hummus

I love hummus!  I have had months where I make this recipe at least every other week.  It is so easy to make once you have the basic ingredients on hand.  Homemade hummus beats store bought any day of the week.  You can take it to work for lunch with some veggies or throw it on a pita with sandwich meat.  It is healthy so you do not feel guilty eating the whole batch in one sitting!  

It tastes great to dip pita chips into it, but since that is not gluten free I mainly use veggies.  Don't be fooled by the bell peppers in the picture below.  I still detest them!  I only sliced them up for our guests.


Hummus
Source:  Southern Living Quick and Easy Cookbook (a must have!)

Ingredients:

  • 1 19 oz can of chickpeas (also known as garbanzo beans), rinsed and drained  (Trader Joe's can is slightly smaller then 19 oz, but still works great in this recipe)
  • 1/4 cup tahini (also known as sesame paste, kinda looks like peanut butter.  It keeps well in the refrigerator for a long time.)
  • 1 tablespoon chopped fresh parsley
  • 1 garlic clove
  • 1/3 cup fresh lemon juice (approximately 2-3 lemons)
  • 1 1/2 teaspoon ground cumin
  • 1/4 teaspoon ground red pepper (also known as cayenne pepper)
  • 1 shallot, quartered
  • 1 tablespoon lite soy sauce (or regular if that is all you have on hand)
Process all ingredients in a food processor until smooth, stopping to scrape down sides.  


Friday, December 24, 2010

Sausage Balls

We had our work Christmas Party Friday night at Benihana.  Here are a few pictures of my co-workers! I feel blessed to be able to work with friends.

Brian, Amanda, Kerri, and Jake

Brian and Latoya

Jonathan, Lauren, Me, and Alex

Okay back to cooking!

I promise after the holidays I will get some healthier recipes up!

I made these for our holiday party too!  They were gone before the night was over.  Huge hit!  I was nervous because this was my first time using the gluten free bisquick and had no idea how it would turn out.  Many people commented on how these were not as dry as most sausage balls they had tried before

I used the hot pork sausage because I like some spice.  Adjust according to your taste!


Sausage Balls
Source:  www.allrecipes.com
Serving: ~30

Ingredients:

1 pound ground pork sausage
2 cups biscuit baking mix
1 pound sharp cheddar cheese, shredded

Preheat oven to 350 degrees.

In a large bowl, combine sausage, biscuit baking mix, and cheese (I use my hands to mix).  Form into bit size balls and place on baking sheets.

Bake in preheated oven for 10 minutes or until golden brown.